Add context to your files with Chapters
Use Chapters to indicate the transition between topics in your recording for your audience
🧰 What You Will Need
-
Uploaded content
Step 1 - Access the File Manager
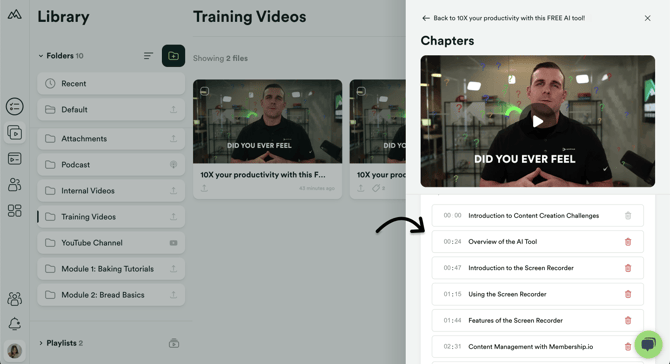
Click on a file in your library to open the File Manager for that file. Click on Chapters.

Step 2 - Add Chapters to your content
Using your knowledge of your file, or using the transcription search on the file preview, determine where in your file the topic switches from one to another.
Title each Chapter with a name or phrase that makes it easy to understand what is being discussed at any point in the recording.
Enter the timestamps for each Chapter to indicate when the topic switches.

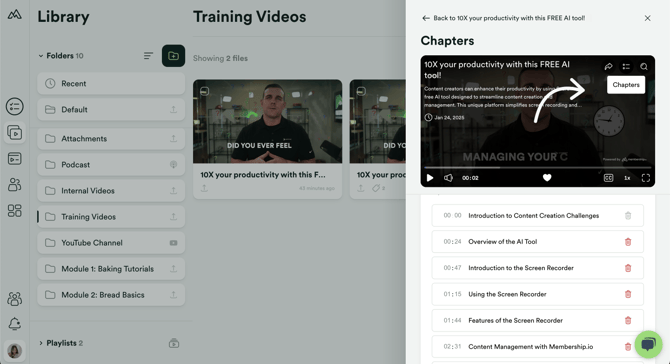
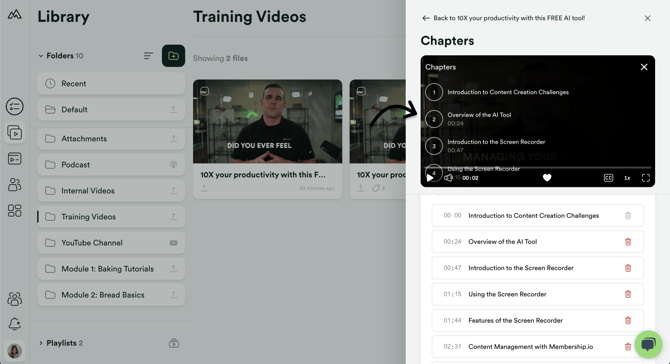
Access the Chapters by clicking the list icon next to the transcription search in the media player preview at the top of the file manager.

Clicking a Chapter from the list inside of the media player preview will bring you (or your audience) right to the timestamp of that Chapter. This is why it's important to make sure the timestamps of the Chapters line up (relatively) well with changes in what is being discussed.

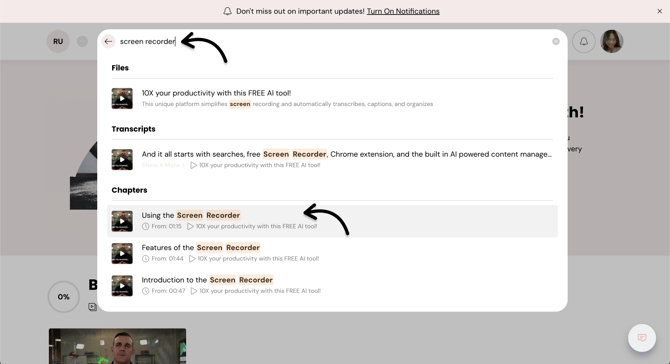
(Optional) Step 3 - Search for Chapters in Hubs
Chapters will now also be available for Searching inside of Hubs that contain content with Chapters. This can be an extremely powerful way to add extra context to your content that is entirely searchable by the Hub search bar. Clicking the Chapter search result will bring you (or your audience) right to the point in the video where that Chapter has been added.

